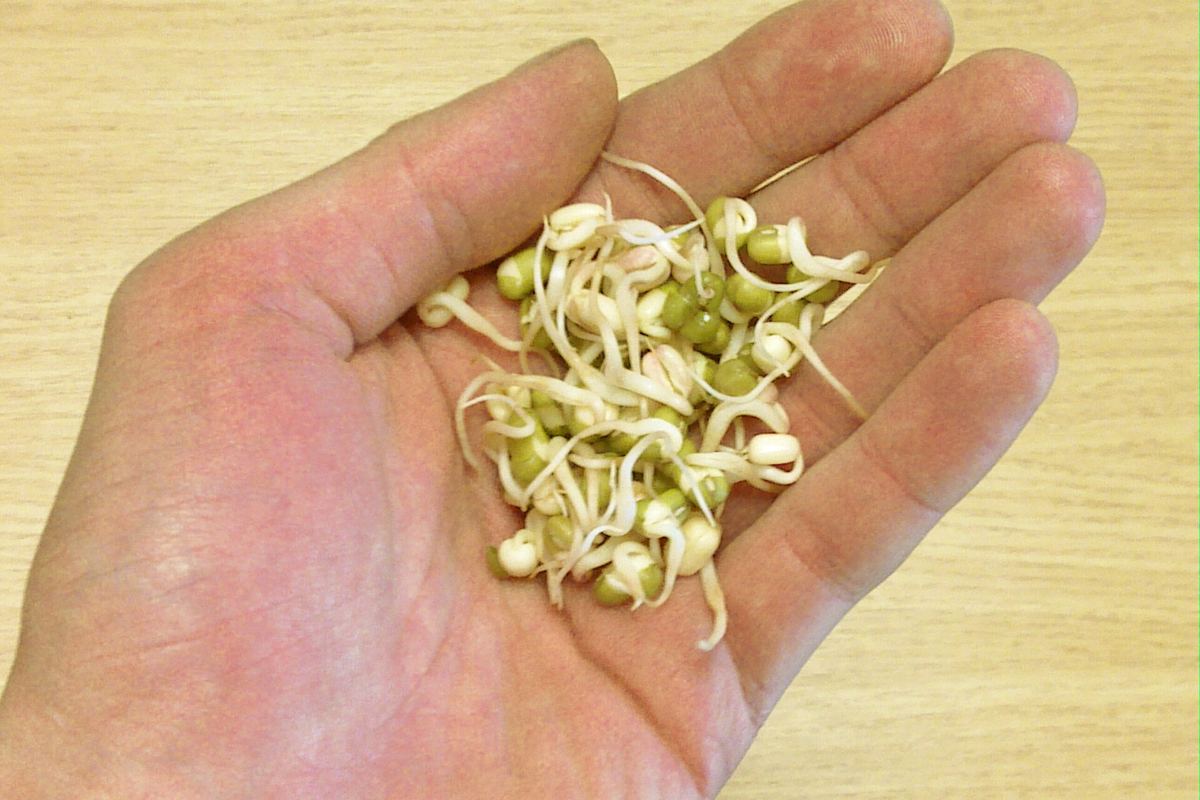
Photo: Harduser (Wikimedia Commons user), CC0 1.0 Universal Public Domain Dedication. Image credits
Every science fair project, at every grade, follows the same basic path. Judges will look for each step on your board, so it helps to know what each one is for.
Worked example used below: Do bean seeds sprout faster in warm places?
Ask a testable question
A testable question can be answered by measuring something. “Why are plants green?” is interesting, but you can't settle it with an experiment at home. “Does temperature change how many days it takes bean seeds to sprout?” can be tested.
Good questions often start with How does…, Does…, or What is the effect of…, and they name one thing you will change.
Do background research
Spend an evening reading about your topic before you build anything. Find out what is already known, what words scientists use, and what might go wrong. Keep a list of sources (book titles, website names, and the date you read them). You will need it for your bibliography.
Example: you learn that seeds need water, oxygen, and a suitable temperature to germinate, and that beans germinate best somewhere around 21–29 °C.
Write a hypothesis
A hypothesis is your prediction plus your reason. The common pattern is If… then… because…. See the hypothesis guide.
Example: If bean seeds are kept at 25 °C, then they will sprout sooner than seeds kept at 10 °C, because the enzymes that start germination work faster when warm.
Plan the experiment
Decide what you will change (the independent variable), what you will measure (the dependent variable), and what you will keep the same (controlled variables). Write a numbered procedure that someone else could follow. Plan for repeated trials; one try is not enough. See controlling variables.
Run the experiment and record data
Use a bound notebook or a dated log. Write measurements as you take them, with units, even if something goes wrong. Mistakes and surprises belong in the log; judges like to see them. Take photos with a ruler or label in the frame.
Analyze the data
Organize results in a table, calculate averages, and make a graph that matches your data type. See data tables and graphs. Look for the pattern before you look for the answer you wanted.
Draw a conclusion
Say plainly whether the data supported your hypothesis, and use numbers: “Seeds at 25 °C sprouted in an average of 3.2 days, compared with 8.5 days at 10 °C.” A hypothesis that turns out wrong is not a failed project. Explain what you learned and why it might have happened.
Communicate
Build your display board, practice a two-minute explanation, and be ready for questions. See display board layout and what judges look for.
Engineering projects work a little differently
If you are building something, like a bridge, a filter, or a turbine, you follow the engineering design process instead: define the problem and requirements, brainstorm, build a prototype, test it, measure performance, and improve it. Judges expect to see at least one redesign with test results before and after.
Next guide: How to Write a Hypothesis (with Examples)